How to Reduce Hair Damage From Heat Styling
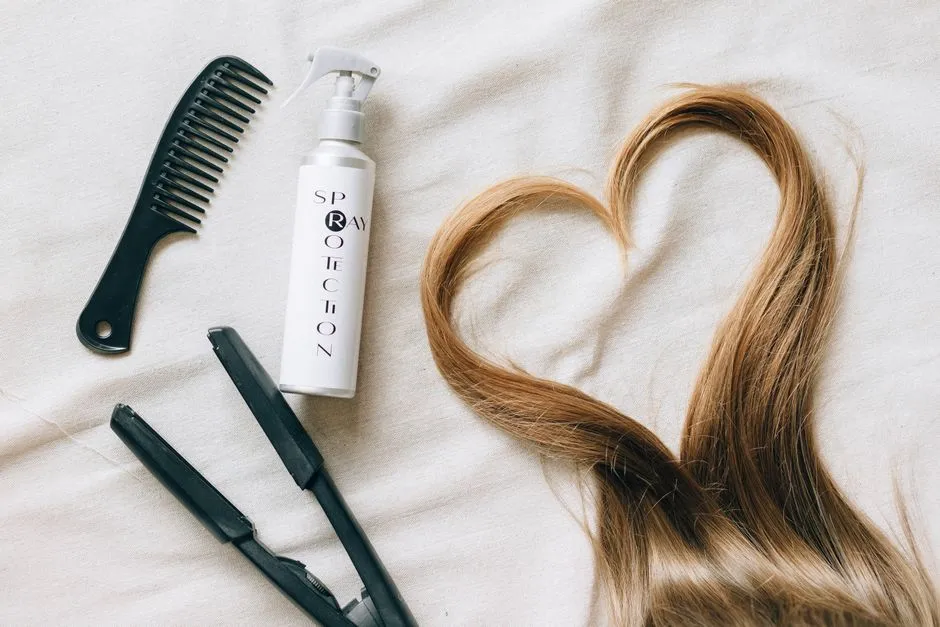
- Reduce heat damage instead of promising none
- Use this order from damp hair to finished style
- Begin with a condition check
- Remove water without adding friction
- Apply protectant for the next tool
- Blow-dry with distance, motion, and stages
- Dry completely before a conventional iron
- Start lower and make fewer passes
- Build a routine for frequent styling
- Keep the tool clean and retire unsafe equipment
- Treat smoothing systems as a separate chemical service
- Use warning signs to change the plan
- Sources
Reduce heat damage instead of promising none
No routine can guarantee heat-styled hair without damage. Heat protectant can reduce some damage under its labeled conditions, but it does not make maximum temperature, wet ironing, repeated passes, or daily exposure harmless. The practical routine is to remove water gently, use the lowest effective heat, keep moving air away from the scalp, dry fully before a conventional iron, limit contact and passes, and build heat-free days into the week.
Hair that is bleached, relaxed, permed, fine, weathered, or already snapping needs a more conservative plan. If the style only forms at the highest setting after several passes, change the style or tool rather than asking another product layer to solve the exposure.
Use this order from damp hair to finished style
| Stage | What to do | Main mistake to avoid |
|---|---|---|
| After washing | Condition, squeeze out water, and blot rather than rub | Rough towel friction |
| Detangling | Work in manageable sections using a method suited to the texture | Pulling repeatedly through knots |
| Damp-hair protection | Apply a label-matched blow-dry protectant evenly | One cloud over the top layer |
| Moisture removal | Partly air-dry if practical, then use lower heat and moderate airflow | Starting with maximum heat on dripping hair |
| Directed drying | Keep the dryer moving and use an attachment where useful | Holding one hot spot against hair or scalp |
| Before an iron or wand | Confirm hair is fully dry; add dry-hair protection only as directed | Clamping a conventional hot tool over wet product or damp hair |
| Shaping | Start low, use small workable sections, and minimize passes or contact time | Reworking the same section until it feels hot |
| Finish | Let hair cool, then use only the finishing product needed | Adding oil before heat without product instructions |
The order stays stable even when the style changes. The settings, tools, detangling method, and product amount should change with hair condition, density, length, texture, and the actual label.
Begin with a condition check
Before plugging anything in, look and feel. Postpone hot-tool styling when the scalp is burned, blistered, broken, or acutely irritated. Reduce or stop heat when the hair has new snapping, severe tangling, a rough change in texture, split areas climbing the shaft, or short broken hairs around the styled zones.
Those signs do not diagnose a cause. Breakage can involve chemical processing, friction, tension, handling, or heat, while shedding and patchy loss can have medical causes. Sudden shedding, visible patches, scalp pain, sores, scaling, or continuing loss should be evaluated by a board-certified dermatologist or another qualified clinician rather than treated as a product-selection puzzle.
Keep a short record if the problem is gradual:
- wash and heat-styling dates;
- chemical services and color history;
- tools and settings used;
- number of passes or approximate contact time;
- products and the stage at which each was applied;
- where breakage or irritation appears.
This is more useful than deciding that one ingredient or one weather forecast caused everything.
Remove water without adding friction
Condition the hair, then squeeze water out gently. Blot or wrap with an absorbent towel; do not scrub the strands between fabric. A microfiber towel may shorten later dryer time, but careful technique matters more than the label sewn into the corner.
Detangle in sections. Many tightly curled and textured heads are easier to detangle while wet and conditioned. Fragile fine or straighter hair may tolerate less wet handling and benefit from a wide-tooth tool once excess water is gone. The hairbrush guide compares detangling and shaping tools without pretending one brush suits every head.
Do not pull hair tight for drying. Replacing thermal stress with sustained tension can create a different problem, including traction-related breakage and hair loss.
Apply protectant for the next tool
Read the finished-product directions, not just the ingredient list. Confirm:
- damp, towel-dried, or dry application;
- whether it covers a blow-dryer, iron, wand, or several tools;
- amount and spray distance;
- maximum temperature, drying time, and reapplication directions;
- flammability, aerosol, scalp, and eye warnings.
Divide the hair so interior strands receive a light, even layer. A spray count cannot be universal because nozzles, formulas, strand diameter, density, and length differ. Creams and serums often need emulsifying between the palms and careful distribution through lengths; root use depends on the label.
Our heat-protectant application guide gives the damp-hair, dry-hair, two-tool, and next-day timing paths. Protectant is useful risk reduction, not permission to increase heat.
Blow-dry with distance, motion, and stages
The American Academy of Dermatology recommends partial air-drying, lower frequency, and the lowest heat setting. Start with moderate airflow and lower heat to remove bulk moisture. Keep the dryer moving and keep hot air off one small area of scalp.
A laboratory study repeatedly shampooed and dried standardized hair tresses under several conditions. Its dryer groups used 15 cm at 47°C for 60 seconds, 10 cm at 61°C for 30 seconds, and 5 cm at 95°C for 15 seconds. Surface damage increased with temperature. The authors found that their 15 cm, continuously moving condition produced less damage than their natural-drying condition.
That study does not prove a universal 15 cm rule for every dryer, head, or routine. It does support two practical controls: avoid very close hot airflow and keep the dryer moving. Your appliance will not reproduce the study's nozzle, airflow, temperature, tress, or timing exactly.
When the hair is mostly dry, use a concentrator only for sections that need directed smoothing. A diffuser can reduce disruption for curls and coils, but its bowl can also hold warm air near the scalp; move by zones and lower heat if the scalp feels hot. Stop once the hair is dry instead of reheating completed sections.
Dry completely before a conventional iron
Do not use a conventional flat iron, hot comb, curling iron, or wand on damp hair. A dermatology case report described brittle, unevenly broken hair after hot ironing wet hair and discussed steam formation inside the fiber as the damage mechanism. One case cannot quantify risk for every person, but it is enough to reject wet ironing as a routine shortcut.
Wet-to-dry tools are a separate product category. Use one only if the exact appliance manual and styling-product directions explicitly support that process. A creator demonstration or the words "steam technology" do not replace the manual.
If the blow-dry protectant does not cover the next tool, use a compatible dry-hair product according to its directions. Let all added wetness evaporate before the plates or barrel touch the hair.
Start lower and make fewer passes
There is no reliable temperature chart based only on curl pattern. Bleach, dye, relaxer, perm, weathering, strand diameter, moisture, tool calibration, section size, and pass speed all change the exposure.
The AAD says flat irons should be used on dry hair at low or medium heat and no more often than every other day. It advises leaving a curling iron in place for only a second or two. Those are conservative dermatologist recommendations, not a promise that the same dial number works across appliances.
Use this test:
- Select a hidden, small section.
- Begin at the lowest setting likely to shape it.
- Move a flat iron smoothly rather than pausing.
- Release a curl after brief contact instead of waiting for the section to feel very hot.
- Let the result cool before judging hold.
- Increase heat only if the lower setting failed and the hair shows no warning sign.
Smaller, clean sections often shape more evenly than a thick bundle, reducing the urge to repeat passes. Sections that are extremely thin can be overhandled, so aim for a size the tool can contact evenly once.
Build a routine for frequent styling
If heat appears most mornings, reduce total exposure before shopping for stronger products. A weekly pattern might use one careful wash-and-style day, low-heat or heat-free maintenance between washes, and a second controlled styling day only if needed. This is an editorial template, not a medical prescription or a universal schedule.
Try these no-cost changes:
- preserve the style overnight with a loose method appropriate to the texture;
- refresh only the sections that lost shape;
- use rollers, wrapping, braiding, stretching, or another suitable heat-free route;
- lower either temperature or frequency first, then observe;
- stop passing the tool over areas that already look finished;
- keep clean, dry attachments ready so setup does not encourage shortcuts.
Do not assume yesterday's protectant remains active, and do not automatically layer a full new application. Read the reapplication direction and account for buildup.
Keep the tool clean and retire unsafe equipment
Product residue on plates or attachments can create drag, smoke, and uneven contact. Unplug the tool, let it cool completely, and clean it only as the manual directs. Never spray cleaner onto a hot or powered appliance.
Stop using a tool with a cracked housing, damaged cord, exposed wire, sparks, intermittent power, or uncontrolled heat. Do not tape over an electrical fault or keep testing it against hair. Follow the manufacturer or a qualified repair professional for safe service or replacement.
If hair sizzles, smokes, scorches, or smells burned, stop immediately, switch off and unplug the tool, and place it on a heat-safe surface. Let both hair and appliance cool before checking whether the hair was damp, the tool dirty, or the product incompatible.
Treat smoothing systems as a separate chemical service
Do not treat a keratin or chemical smoothing service as an ordinary protectant-plus-iron routine. The U.S. Occupational Safety and Health Administration reports that some salon smoothing products can contain or release formaldehyde during blow-drying or flat-ironing, including some products marketed without clear formaldehyde labeling. Workplace controls can include hazard communication, ventilation, protective equipment, and training.
This is a professional chemical-exposure issue. Do not improvise the service at home or assume an open window recreates occupational controls. Ask a qualified salon professional for the product identity and safety documentation, and follow applicable workplace and product requirements.
Use warning signs to change the plan
Hair that feels dry after one session does not prove permanent heat damage, and no product can diagnose the shaft. Still, repeated snapping, roughness, loss of elasticity, new tangling, or a persistent change in curl behavior is a reason to reduce heat and simplify the routine.
Scalp burning, blistering, swelling, breathing trouble, or eye exposure requires prompt action. Switch off the tool and use the emergency or poison-information route for your location as appropriate. For burns, follow current local medical guidance; serious, electrical, chemical, facial, or extensive burns need urgent professional assessment.
The durable routine is not complicated: gentle water removal, label-matched protection, moving lower-heat airflow, fully dry hair before conventional irons, brief contact, fewer passes, clean tools, and genuine days off. The goal is not to make heat harmless. It is to stop spending damage on steps that add nothing to the finished style.
Sources
- American Academy of Dermatology: Hair styling without damage supports partial air-drying, reduced frequency, dry-hair flat-ironing on low or medium, every-other-day limits, and brief curling-iron contact.
- American Academy of Dermatology: Hair loss management tips supports conditioning, microfiber-towel use, lowest dryer heat, lower hot-tool frequency, and professional routing for hair loss.
- Lee et al.: Hair Shaft Damage from Heat and Drying Time of Hair Dryer supports only its standardized tress conditions and observed temperature/distance damage pattern.
- Savitha et al.: Bubble Hair and hot ironing on wet hair supports the scoped case and proposed steam-damage mechanism.
- U.S. OSHA: Formaldehyde in hair products supports the smoothing-product and workplace-control boundary.